This is a placeholder page that shows you how to use this template site.
1 - Overview
Here’s where your user finds out if your project is for them.
This is a placeholder page that shows you how to use this template site.
2 - API
api.fungit.org 接口文档
api.fungit.org 接口文档
反代使用: https://api.fungit.org/warp-proxy/https://sample.com
如:curl ‘https://api.fungit.org/warp-proxy/https://api.fungit.org/ip' -4
2.1 - CDN
show CloudFlare/CloudFront/Gcore CDN
CloudFlare CDN
如果你想要使用 cloudflare cdn自选ip,请使用cname解析到cdn.fungit.eu.org
3 - 迁移到Hugo
从Hexo迁移到Hugo
“构建网站的全球最快框架
Hugo 是最受欢迎的开源静态网站生成器之一。凭借其惊人的速度和灵活性,Hugo 使构建网站再次变得有趣。”
老早就想迁到Hugo,因各种事耽搁了,也没啥时间找到合适的主题,最近刚好遇到更新博客,就趁着“热度”迁移。
准备
1.建立一个Github 私仓用于存放博客,可再建一个存主题,方便修改和日后升级。
2.本地环境可不装,如果要在本地测试需安装:Go、Nodejs、Hugo。
初始化
在服务器新建一个新网站之后,克隆到本地
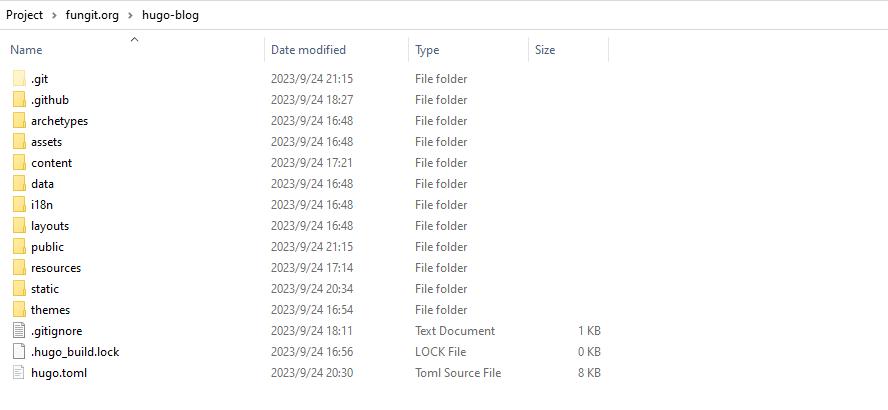
大概是这样
配置Vercel
新建导入仓库略过…
在配置框架这里我们选择Others,后续我们覆盖命令和包安装命令就好了
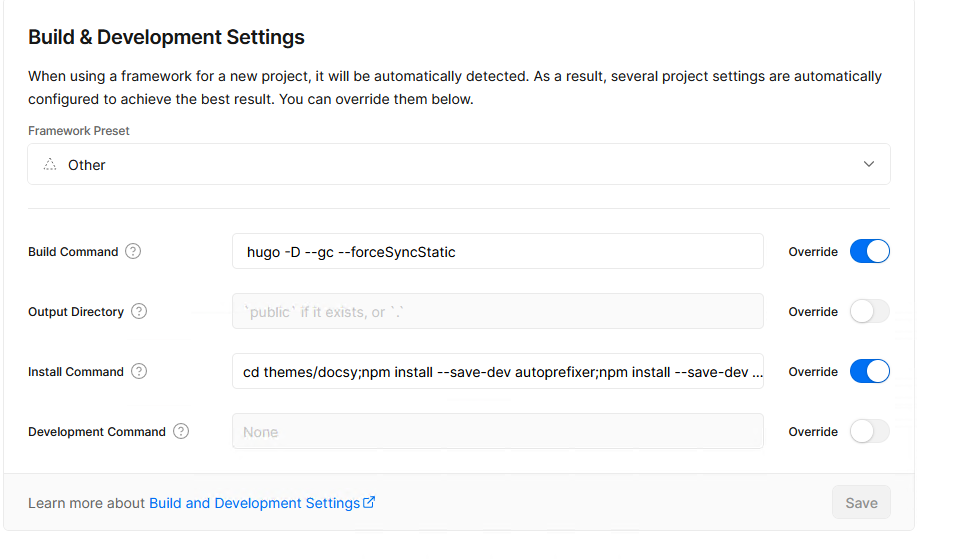
编译命令:
hugo -D --gc --forceSyncStatic
依赖安装:
  cd themes/docsy
  npm install --save-dev autoprefixer
  npm install --save-dev postcss-cli
  npm install -D postcss
  cd ../../
  npm install --save-dev autoprefixer
  npm install --save-dev postcss-cli
  npm install -D postcss
  hugo -D
环境变量这里要配置一个HUGO_VERSION 0.118.2
3.1 - 安装Docsy主题
Docsy 是一个预配置的 Hugo 主题,提供了创建技术文档站点所需的核心功能和行为
Docsy 来设置您的文档网站,包括一个可选的博客部分,然后将时间集中在撰写技术内容上。根据您选择如何配置 Docsy 以及是否使用支持持续构建的托管服务,您甚至只需将 Markdown 或 HTML 内容文件添加到源代码仓库的文件夹中,然后坐下来,它将自动添加到您的网站中,包括更新的菜单。
主题我选用的是Docsy
可以同时用来做博客和写文档,一直想要文档对我来说很合适。
安装
我是用的是本地方式,可以新建一个私仓用来存主题,方便后续升级。
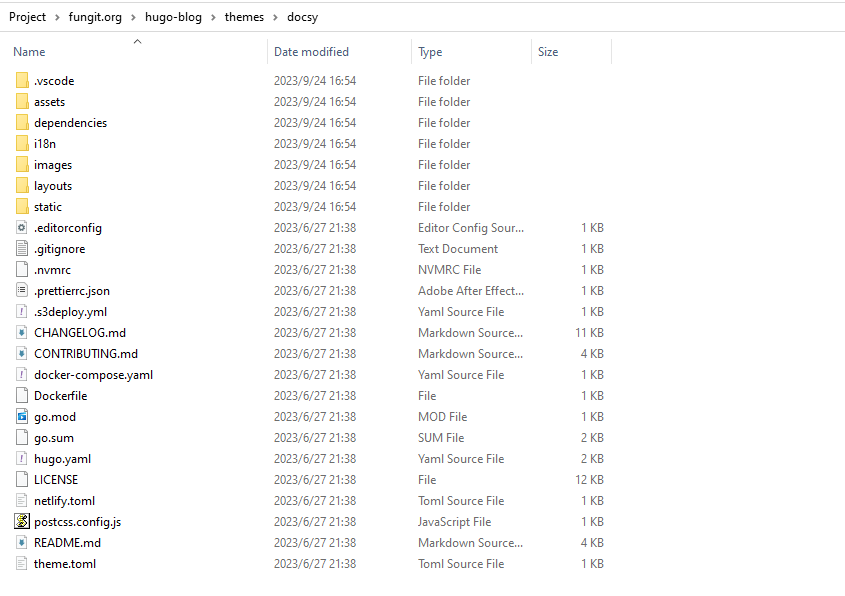
到https://github.com/google/docsy/releases 下载最新版本0.7.1
把解压到themes/docsy目录下,把userguide目录删除之后大概如下:
我们到官方给的范例下载hugo.toml配置文件覆盖原有的配置文件
把这些删除掉
enableGitInfo = true

[module]
  # uncomment line below for temporary local development of module
  # replacements = "github.com/google/docsy -> ../../docsy"
  [module.hugoVersion]
    extended = true
    min = "0.110.0"
  [[module.imports]]
    path = "github.com/google/docsy"
    disable = false
  [[module.imports]]
    path = "github.com/google/docsy/dependencies"
    disable = false
添加对应的配置
theme = "docsy"

disableGitInfo = true
配置cover
主题默认没有自定义Cover图片,我们在themes\docsy\layouts\shortcodes\blocks\cover.html,进行修改。
{{ $cover_image := .Get "cover_image" | default $.Site.Params.custom.coverImageFull -}}

{{ with $promo_image -}}
{{ $promo_image_big := (.Fill (printf "1920x1080 %s" $image_anchor)) -}}
{{ $promo_image_small := (.Fill (printf "960x540 %s" $image_anchor)) -}}
<!--
<link rel="preload" as="image" href="{{ $promo_image_small.RelPermalink }}" media="(max-width: 1200px)">
<link rel="preload" as="image" href="{{ $promo_image_big.RelPermalink }}" media="(min-width: 1200px)">
-->
<style>
#{{ $blockID }} {
    background-image: url({{ $cover_image }});
}

</style>
{{ end -}}
注释掉原来使用相对 URL的变量$promo_image_big.RelPermalink 添加cover_image,标识cover url链接
相应的,我们在hugo.toml添加参数
[params.custom]
coverImageFull = "https://api.fungit.org/covers.php"
coverImageSmall = "https://api.fungit.org/covers.php?type=small"
push到github,vercel就会为我们自动构建部署
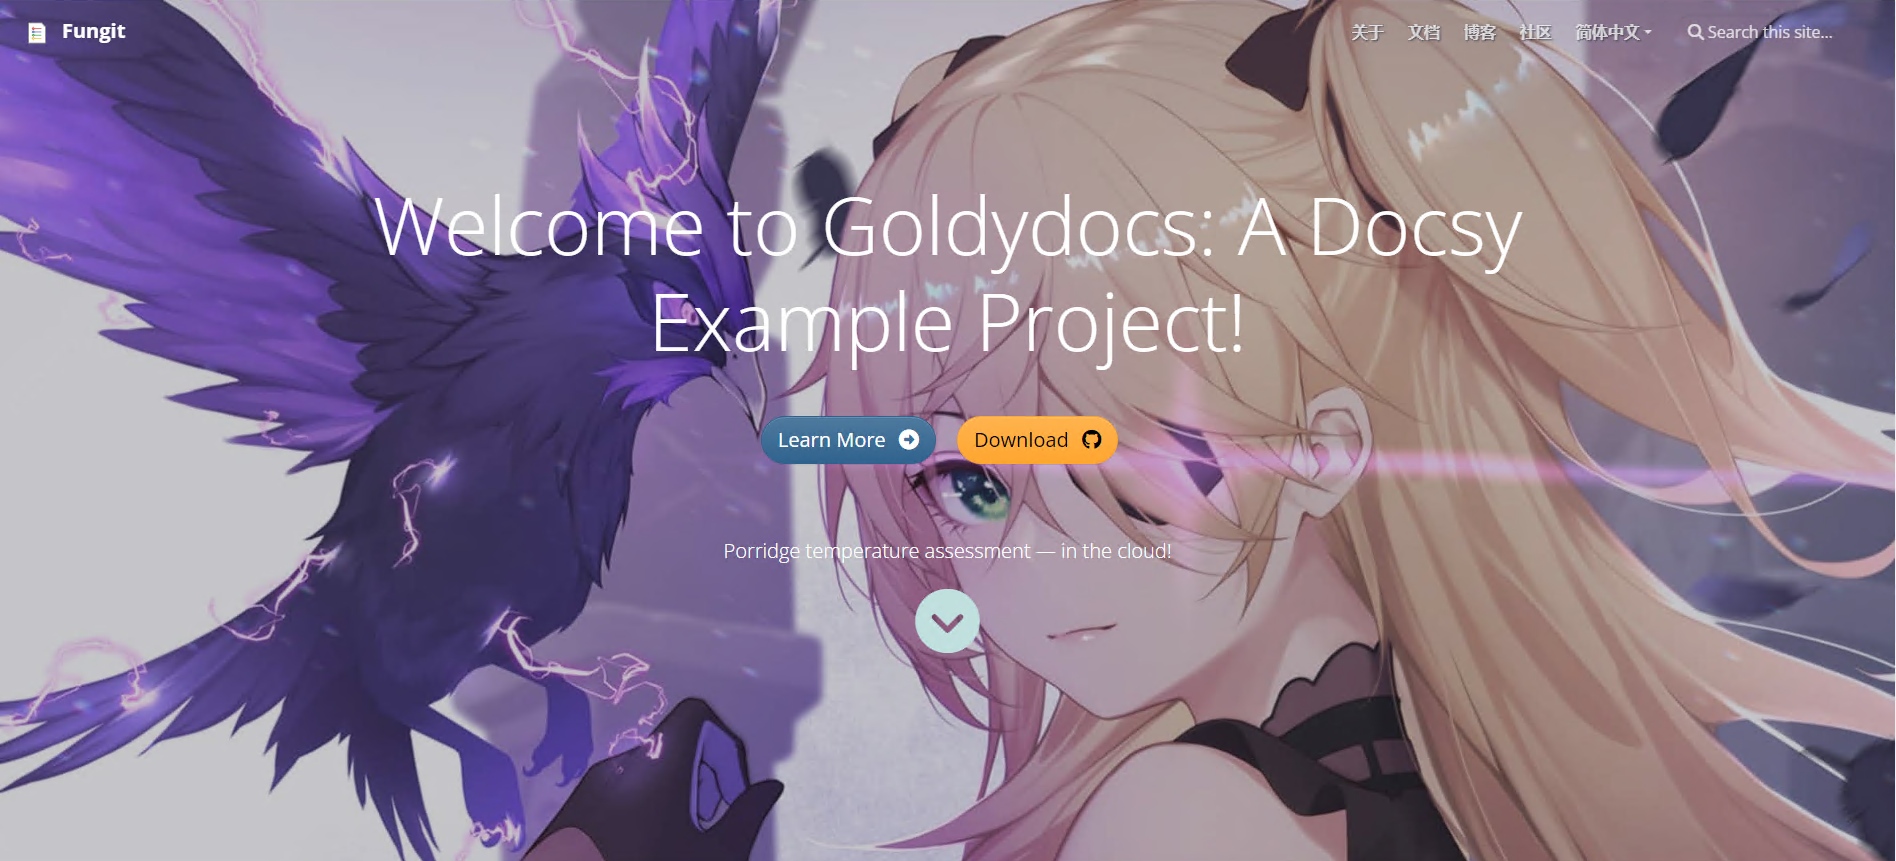
无意外就是我们熟悉的cover: